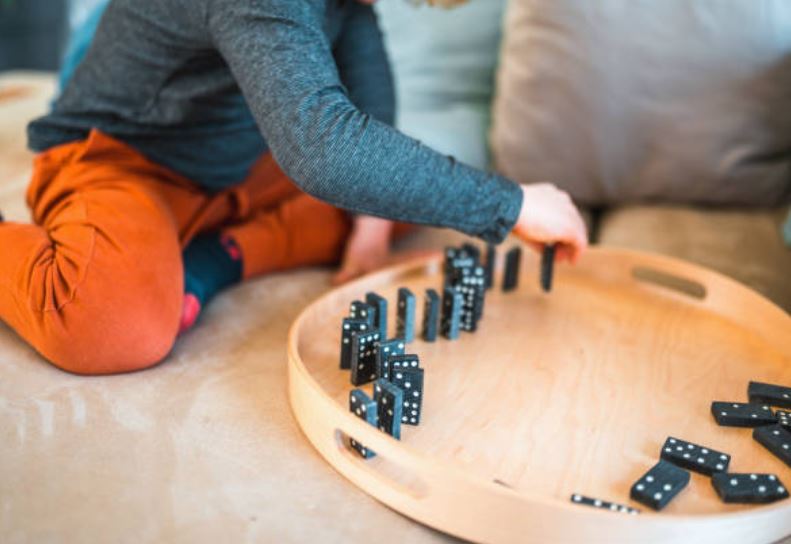
Here are some simple yet effective DIY Montessori toy ideas that you can create at home.

1. Sensory Bottles
Materials Needed:
- Empty plastic bottles
- Water
- Food coloring
- Glitter, beads, or small objects
- Hot glue gun
Instructions:
- Clean the Bottles: Ensure the bottles are clean and dry.
- Fill with Water: Fill each bottle about three-quarters full with water.
- Add Food Coloring: Add a few drops of food coloring to the water. Use different colors for different bottles to create a variety of sensory experiences.
- Add Objects: Add glitter, beads, or small objects to the bottles. Experiment with different items to see how they move through the water.
- Seal the Bottles: Use a hot glue gun to seal the caps onto the bottles securely. This prevents any accidental spills.
- Shake and Enjoy: Shake the bottles and watch the contents swirl around. These bottles are great for visual and auditory stimulation.

2. Fabric Sensory Boards
Materials Needed:
- A sturdy piece of cardboard or a wooden board
- Various fabric scraps (different textures)
- Glue
- Scissors
Instructions:
- Cut the Fabric: Cut the fabric scraps into small squares or shapes.
- Arrange the Fabric: Arrange the fabric pieces on the board in an interesting pattern. Consider alternating textures to create a diverse sensory experience.
- Glue the Fabric: Glue the fabric pieces onto the board. Make sure they are securely attached.
- Dry and Play: Allow the glue to dry completely before letting your child explore the different textures with their hands.

3. Button Snake
Materials Needed:
- A long strip of felt (for the snake's body)
- Assorted colored felt squares (for the "scales")
- Large button
- Needle and thread
Instructions:
- Prepare the Snake Body: Cut a long strip of felt for the snake's body. Sew a large button onto one end of the strip.
- Cut the Scales: Cut the colored felt squares into small shapes with a slit in the middle (large enough to fit the button through).
- Assemble the Snake: Show your child how to button the felt scales onto the snake's body. This activity helps develop fine motor skills and hand-eye coordination.

4. Wooden Peg Board
Materials Needed:
- Wooden board
- Wooden pegs
- Drill
- Sandpaper
- Non-toxic paint (optional)
Instructions:
- Prepare the Board: Sand down the wooden board to ensure there are no rough edges.
- Drill Holes: Drill evenly spaced holes into the board, making sure they are slightly larger than the diameter of the pegs.
- Sand the Holes: Sand the holes to smooth out any rough edges.
- Paint the Pegs (Optional): Paint the wooden pegs with non-toxic paint if desired. This can add an extra layer of sensory engagement.
- Insert Pegs: Show your child how to place the pegs into the holes. This activity promotes fine motor skills and spatial awareness.

5. Montessori Inspired Nature Tray
Materials Needed:
- Tray or shallow box
- Various natural items (pine cones, leaves, rocks, shells, etc.)
- Magnifying glass (optional)
Instructions:
- Collect Natural Items: Go on a nature walk with your child and collect various natural items.
- Arrange on the Tray: Arrange the collected items on the tray or shallow box.
- Explore: Encourage your child to explore the items, using a magnifying glass if available. Discuss the different textures, shapes, and colors. This activity promotes sensory exploration and a connection to nature.

6. Color Matching Game
Materials Needed:
- Wooden clothespins
- Paint (various colors)
- Cardboard or cardstock
- Marker
Instructions:
- Paint the Clothespins: Paint the wooden clothespins in different colors.
- Prepare the Cards: Cut the cardboard or cardstock into small cards. Draw and color a circle on each card to match the colors of the clothespins.
- Match Colors: Show your child how to clip the clothespins onto the matching colored circles on the cards. This game helps with color recognition and fine motor skills.
Creating DIY Montessori toys is a rewarding and cost-effective way to enhance your child's educational experience. These activities not only save money but also provide unique opportunities for learning and development. By using simple materials found around your home, you can create engaging and educational toys that foster creativity, independence, and a love for learning.

